
Sublimation Maker 2.0 and Making Sublimation Murals
|
|
Sublimation Tile |
|


|
|
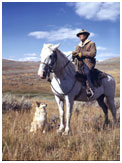
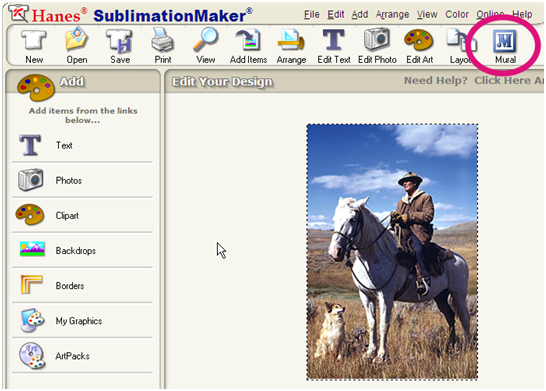
One of the great things about Hanes Sublimation Maker 2.0 is that it takes care of all your needs for tile mural making and image preparation. In this case, our mural of a cowboy will be 12×18 (3 – 6″ tiles x 2 – 6″ tiles). I cropped and resized this image to fit our needs within the SublimationMaker Program. |
||
|
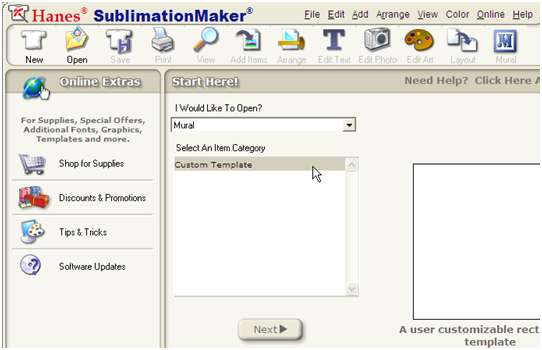
Click New on the Menu. Select Mural in the “I Would Like to Open?” menu item. Click Next. |
|
 |
|
|
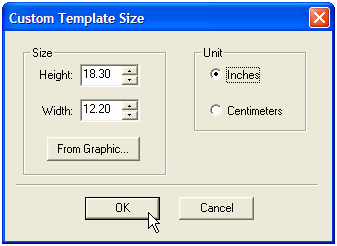
The next box will allow you setup the size of your mural. Here we are using 18.30″x12.20.” |
 |
 |
|
|
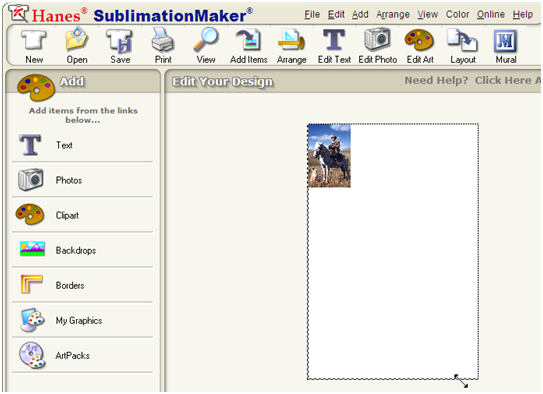
The imported image will be displayed smaller than the size of the mural. Press the shift key and click and drag the lower right hand corner to resize the image. |
|
|
Your image should now fill the screen. Click on “Mural” to display the “TILES” Menu selections. |
|
 |
|
 |
|
|
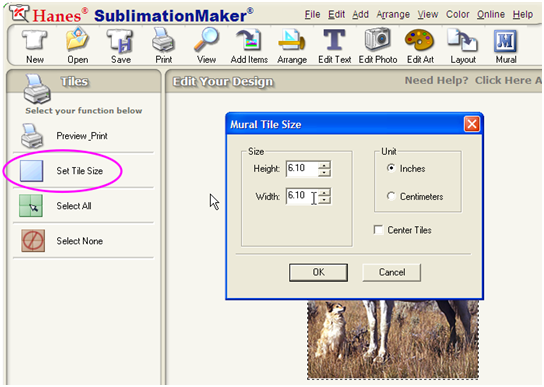
Click on “Set Tile Size”. For this example we are using a transfer size of 6.1″x6.1″ for a 6″ tile. This will give us a perfect edge to edge print. Also, this will take into account the spacers between the tiles. |
|
|
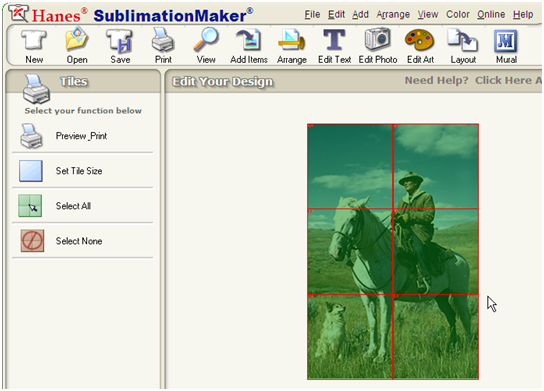
You now have an image that has been divided into the proper grid for a mural. |
|
 |
|
 |
|
|
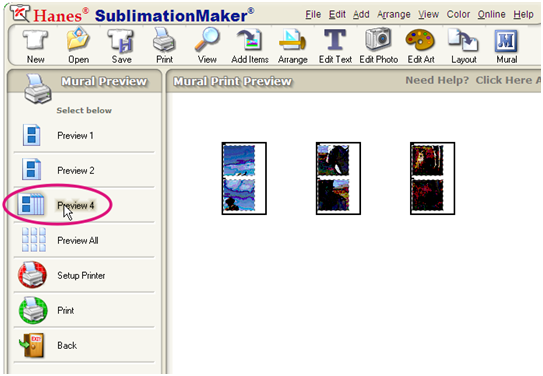
Clicking on “Preview print” and then “Preview 4” will allow us to see how many pages our mural will need. In this example, I am using 8.5″x 14″ known as Legal Size. This will allow me to print two tiles on one page which really maximizes the use of my dye sublimation paper. |
|
 |
|
|
Then click “Print”. If we are using PowerDriver for our sublijet inks, the PowerDriver will automatically mirror the image. Select “NO” to mirroring the tiles. Congratulations! |
|
